Link Multiple Class Sections in Schoology: Difference between revisions
No edit summary |
No edit summary |
||
| Line 33: | Line 33: | ||
[[File:Sections 5.png|thumbnail|400 px]]<br clear="all"> | [[File:Sections 5.png|thumbnail|400 px]]<br clear="all"> | ||
* Change the Course Profile row selection to "No One". | * Change the Course Profile row selection to "No One". | ||
[[File:Sections 6. | [[File:Sections 6.png|thumbnail|400 px]]<br clear="all"> | ||
* The last column should then look like this. | * The last column should then look like this. | ||
* Click on "Save Changes". | * Click on "Save Changes". | ||
{{ClassTech}} | {{ClassTech}} | ||
Revision as of 20:36, 28 August 2019
| Schoology is our Learning Management System. This should get you started on the path to Schoology mastery. | |
| Intended for Employees | |
| Categorized under Classroom technology and systems | |
| Maintained by Matt Ringh | |
| in need of review. |
Linking Course sections is a great way to manage all sections of a course more efficiently.
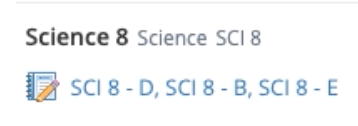
When sections are linked, they all share the same set of materials and grade setup. This means you only need to create materials once, even when you teach multiple sections of the same course. Linked sections also have toggles you can use to switch between each section instantly, so you can keep the sections separate while enjoying a more streamlined workflow.
Here are the steps necessary to link sections of your courses:
* Navigate to "Courses", and select "My Courses"

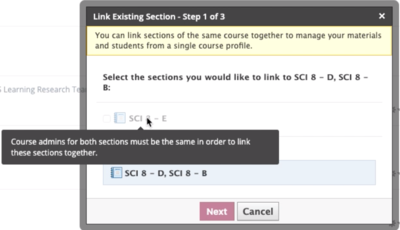
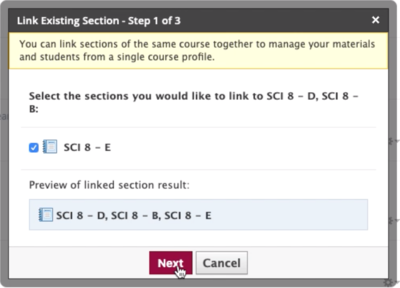
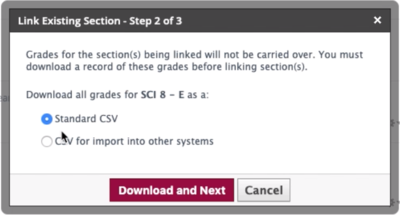
* Click the Gear drop-down next to the section you'd like to be the Master/Parent Course, and select "Link Existing Section".

* Enter a name for the new Section ("F", for example), and then complete the remaining information ("Subject Area", "Level", etc.).

Now that you have your sections created, you'll need to enroll your students. You can do this by providing students in each section with that sections unique access code. To get these access codes, navigate to the course and select "Members".

Once students have been provided with the correct access code they can click on "Courses", choose "Join", and enter that code. You may also choose to add each student manually by clicking on "Members" within a section, and then selecting "Add Members".
One last concern,...your student swill now see 2 different courses in their Course menu in Schoology. They will see the Course, which was automatically generated (which only has only one section), and they will see the Course you created in the above steps, which has multiple sections. To help remedy this issue, you can edit the Courses visibility/privacy.
* Click on "Course Options", and then "Edit Privacy/Course Settings".

* Change the Course Profile row selection to "No One".

    * The last column should then look like this.
    * Click on "Save Changes".
| Article | Summary |
|---|---|
| Create Google Doc Assignments in Schoology | |
| Use remote learning procedures (for faculty) | An overview of procedures for working remotely during extended school closure. |
| Use remote learning procedures (for students) | An overview of procedures for working remotely during extended school closure. |
| Master remote learning? | An overview of procedures for working remotely during extended school closure. |
| Assess Student Learning Remotely Using SMART Notebook? | Create formative assessments using SMART Notebook’s response 2 wizard and convert files from previous versions of SMART Response. |
| Use Zoom Video Conferencing for Remote Learning? | Zoom is a remote conferencing program similar to Google Hangouts Meet. It provides a remote learning service that provides audio, video, content sharing, annotation, video clip sharing, breakout rooms, polling, recording and more. |