Using TurnItIn in Schoology
- Step 1: Within your Course select “Add Materials” and “Add Assignment”.
- Step 2: Name the assignment.
- Step 3: Select the “External Tool”icon (shown below)

- Step 4: Set “Tool Provider” to “TurnItIn”
- Step 5: Enter a Title
- Step 6: Click “Submit”
- Step 7: Set a “Category” (“ungraded”, if you like)
- Step 8: If you are not collecting the paper through Schoology, and only want students to submit to TurnItIn, disable submission by completing this step...
- Step 9: Click “Create”
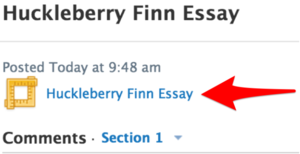
- Step 10: Back in the Course, navigate to the assignment you just created, and click into it.
- Step 11:(Important!!!) Double-Click on the TurnItIn Link. You will need to click twice to get the page to load.

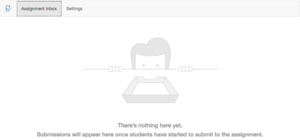
- Step 12: Once the image below loads:
- a) Students will be able to access TurnItIn from the assignment link in Schoology
- b) You can customize settings by clicking on “Settings”. If you then click on "Optional Settings", you will have the option to "Allow submissions of any type." This means students can upload a file, submit through Google Drive, etc. You may also "allow late submissions" which allows students to submit their work to TurnItIn after the due date.
| Here's how to set it up so students can submit to TurnItIn via Schoology. | |
| Intended for Employees and Students | |
| Categorized under Classroom Technology and Systems | |
| Maintained by Matt Ringh | |
| in need of review. |


