Access myRiverdale
| Provides secure identity management and single sign-on to many RCS applications and services. | |
| Intended for Employees and Students | |
| Categorized under RCS software and services | |
| Maintained by Jeffrey Gomez | |
| in need of review. |
 now uses
 ![]()
Okta is the software service that has replaced our previous myRiverdale (my.riverdale.edu) portal. It's now what you'll find when you visit my.riverdale.edu.
Okta Mobile App
Do not use a web browser to access Okta on your mobile device. Instead, use the mobile applications for iPad/iPhone and Android devices. Both apps are free.
With the mobile app, users can access the applications in their Dashboard and reset their Okta passphrase.
- When you open the App for the first time, you'll be prompted to enter the "site name", your "user name", and your "passphrase". For "site name", enter "Riverdale".
- Please note that the mobile application has been a little inconsistent in our testing. It does not always work correctly for all applications. We hope it will be improved in future versions.
First, clear your browser cache
We urge you to clear your web browser cache before visiting the new myRiverdale for the first time. Here’s how to do that:
Logging into myRiverdale
Go to my.riverdale.edu. You will be redirected to riverdale.okta.com. This is totally fine and totally safe. (You can also just go straight to riverdale.okta.com.)
Enter your RCS Username and passphrase.
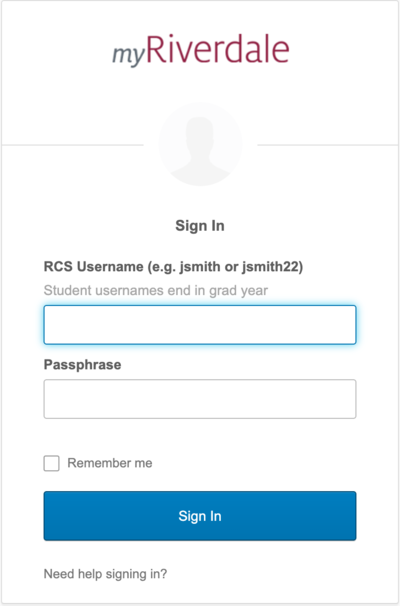
First time login
If this is your first time logging in, you will be prompted to answer a few questions as part of the account creation process.
- Add a secondary email address to use when resetting your passphrase, or check the box that says "I have no secondary email address"
- Add your mobile phone number if you want the option to reset your passphrase via text message
- Choose a security question to answer if you forget your passphrase.
- Choose a security image.
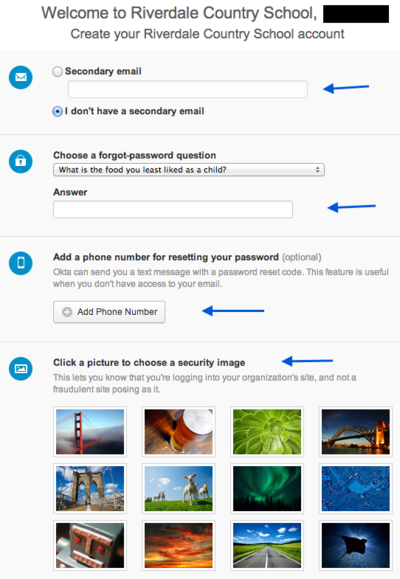
When you have finished these steps, click on the button that says "Create Account" in the lower right-hand corner of the screen.
Now you have successfully created your account and will be logged into the application!
The Dashboard
Now that you have logged in, you will see the Dashboard. You will also see a message that says "Welcome to your Okta homepage". Okta provides links to help files and "how-to" videos here that you may find helpful to use. (click hereto access these videos)
This window can be closed if you are not using it.

You may also see a message that says "We added new features to your Okta account" . This refers to a new feature Okta has just included that allows users to create tabs to organize their applications.
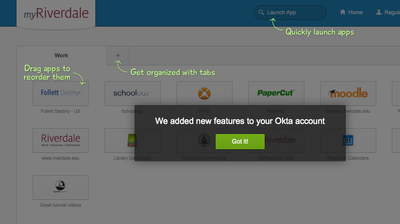
Installing the Okta plugin
If you are using a Faculty laptop, or an off-campus computer, you may see a message that asks you to install an Okta browser plug-in, the first time you login to your Okta account.

The plug-in helps the Okta application run smoothly, and should be installed.
- Click on the part of the message that says "click here to install".
- After starting the installation, follow the onscreen instructions.
- When the installation is complete you will need to restart the browser.
- If you use more than one browser, you will need to install the plug-in in each browser.
- Note:Each web browser has its own slightly different method of installing the plug-in.
After installing the Okta plug-in, a folder called "My Applications" will be added to the Bookmarks toolbar. This folder contains bookmarks for all of the applications in your dashboard.

Click on the triangle to view the contents of the "My Applications" folder
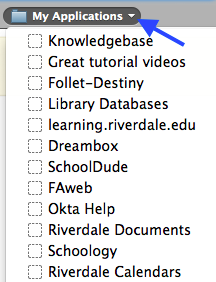
A right click (two finger click, for you laptop users) on the My Applications folder will allow you to rename it. For instance, you could call it "Riverdale Applications."
These bookmarks provide you with a quick and easy way to access applications in Okta, without going to the dashboard.
For more info on the plug-ins click here
Opening an application from the dashboard
The Dashboard contains all of the links to applications that were accessible through the my.riverdale portal. To login to any of these applications simply click its icon.
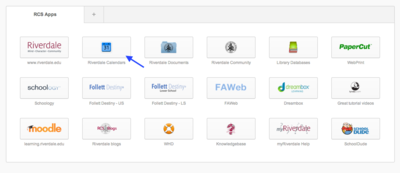
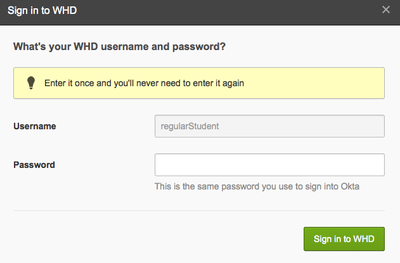
The first time you login to an application you may be asked to enter your passphrase. Do this and click the green "Sign In" button.
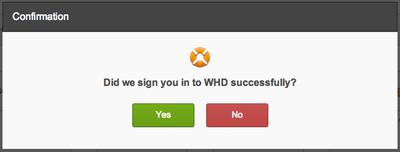
After logging in you may see a window pop up that asks if you were successfully logged in. Click "yes". Your username and passphrase will be stored so that in the future you will be automatically logged in.
Organizing apps/Creating Tabs
The Dashboard view can be customized by rearranging the order in which apps appear or by creating Tabs to organize apps under different headings.

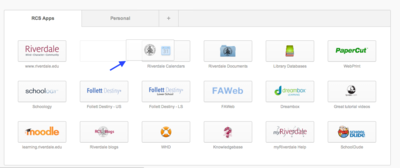
Reordering applications
Simply click on the application you wish to move, and drag/drop it into the new position.
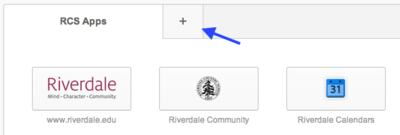
Creating a new tab
Click the "+" next to the existing tab
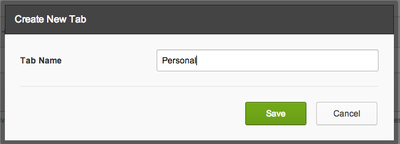
Then enter a name for the new tab
To add applications to the new tab, simply drag/drop apps from an existing tab into the new one.
Hiding applications
We recommend creating a tab to store applications you don't need/ use.
Changing a passphrase for an application
- click on the "gear" icon in the upper right-hand corner of the application button
- enter the new passphrase
- click "Save"
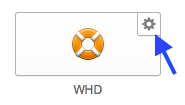
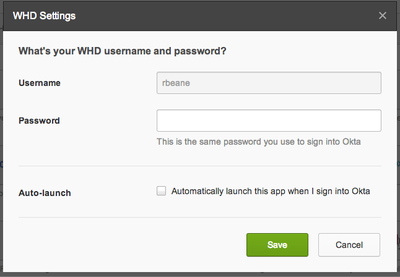
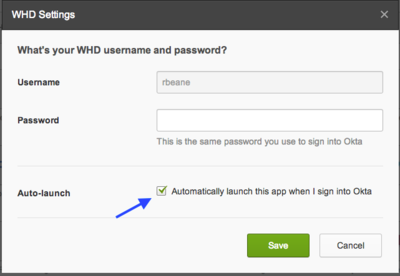
Automatically launching applications when you sign-in to Okta:
- click on the "gear" icon in the right-hand corner of the application button
- check the box that says "Automatically launch this app when I sign into Okta"
- click "Save"
For directions on how to add your own applications to the Okta dashboard, click' here
Need further help?
Okta provides some great help pages here. You can also submit a tech support request.
Articles that use this template are
</noinclude>