Create a Schoology Turnitin Assignment: Difference between revisions
Appearance
No edit summary |
No edit summary |
||
| Line 16: | Line 16: | ||
# Name the assignment | # Name the assignment | ||
# Select the “External Tool” icon | # Select the “External Tool” icon | ||
[[File:External Tool.png | [[File:External Tool.png]] <br clear="all"> | ||
# Set “Tool Provider” to “TurnItIn” | # Set “Tool Provider” to “TurnItIn” | ||
# Enter a Title | # Enter a Title | ||
Revision as of 13:42, 5 June 2018
| Here's how to set it up so students can submit to TurnItIn via Schoology. | |
| Intended for Employees and Students | |
| Categorized under Classroom technology and systems | |
| Maintained by Matt Ringh | |
| in need of review. |
Using TurnItIn in Schoology
- Within your Course select “Add Materials” and “Add Assignment”.
- Name the assignment
- Select the “External Tool” icon
- Set “Tool Provider” to “TurnItIn”
- Enter a Title
- Click “Submit”
- Set a “Category” (“ungraded”, if you like)
- If you are not collecting the paper through Schoology, and only want students to submit to TurnItIn, disable submission by completing this step...
Next to “Options”, click the “Submissions Enabled” icon

to disable submissions. If submissions are disabled, the icon will look like this

- Click “Create”
- Back in the Course, navigate to the assignment you just created, and click into it
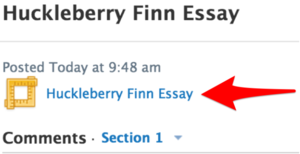
- (Important!!!) Click on the TurnItIn Link:

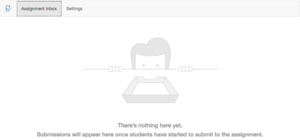
- Once the image below loads;
a) Students will be able to access TurnItIn from the assignment link in Schoology
b) You can customize settings by clicking on “Settings”.

