Step 1 - Navigate to the SMART Maestro Home Page
| Instructions on how to control SMART Notebook on your laptop from your iPad. | |
| Intended for Employees and Students | |
| Categorized under Classroom Technology and Systems | |
| Maintained by Matt Ringh | |
| in need of review. |
Step 2 - Scroll down and click "Download Maestro".
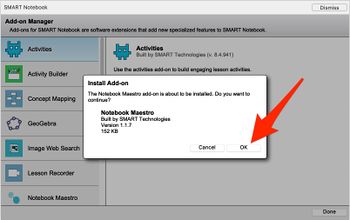
Step 3 - Open the Downloaded file. It will open in SMART Notebook. Click "OK", when prompted..
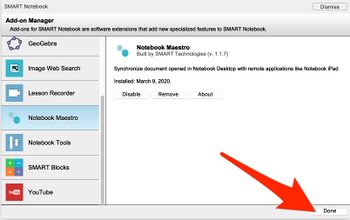
Step 4 - Once the new page loads, click "Done".
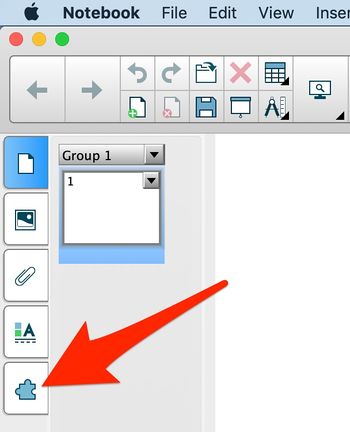
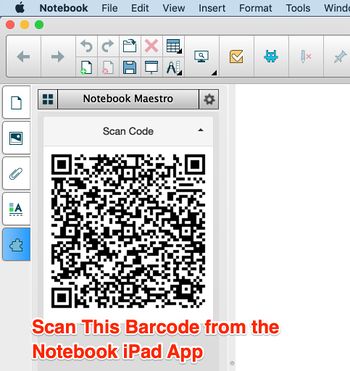
Step 5 - Click the Add-on tab (bottom of Notebook's left-side tabs).
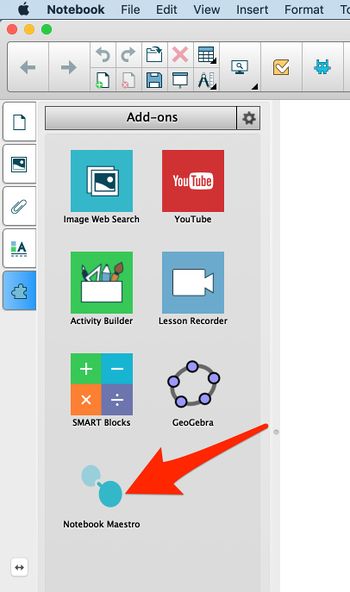
Step 6 - Click on "Notebook Maestro".
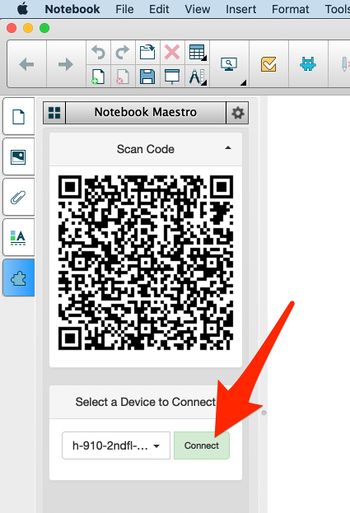
Step 7 - - You may be prompted to restart Notebook at this time. Restart if you are, and repeat steps 5 & 6. Eventually, you will see a QR code like the one below.
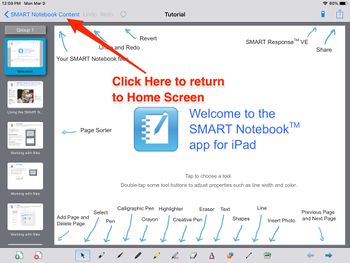
Step 8 - - Open the Notebook app on your iPad.
Step 9 - Touch "SMART Notebook Content" in the top-left corner.
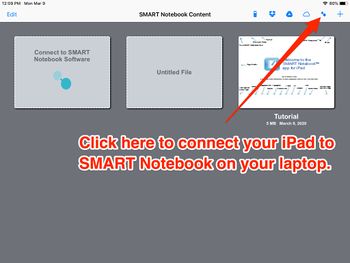
Step 10 - Touch the icon in the top-right corner, just to the left of the "+" sign. See picture below.
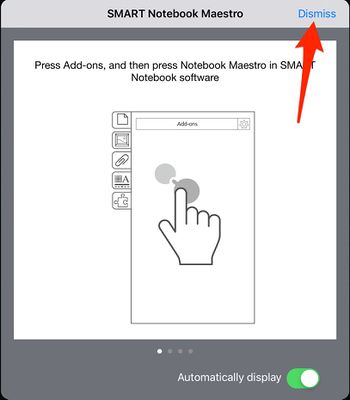
Step 11 - Dismiss the pop-up screen.
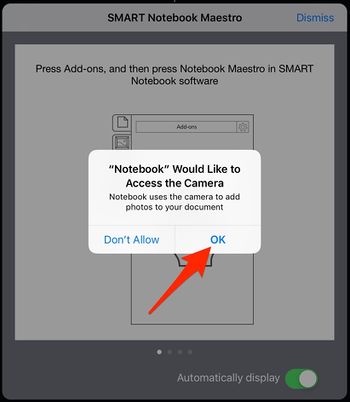
Step 12 - Grant access to your camera.
Step 13 - Scan the QR code with your iPad. Step 14 - Return to Notebook and click "Connect".
Step 15 - You can now use your iPad to control Notebook on your laptop.

